PODCAST RECORDING – TIPS FOR PERFECT ROOM ACOUSTICS AND PROFESSIONAL MONITORING
In the first part of our podcast blog series, we already shared valuable tips and tricks for creating podcasts. Now it gets practical: What should you pay attention to when it comes to actually recording your podcast?
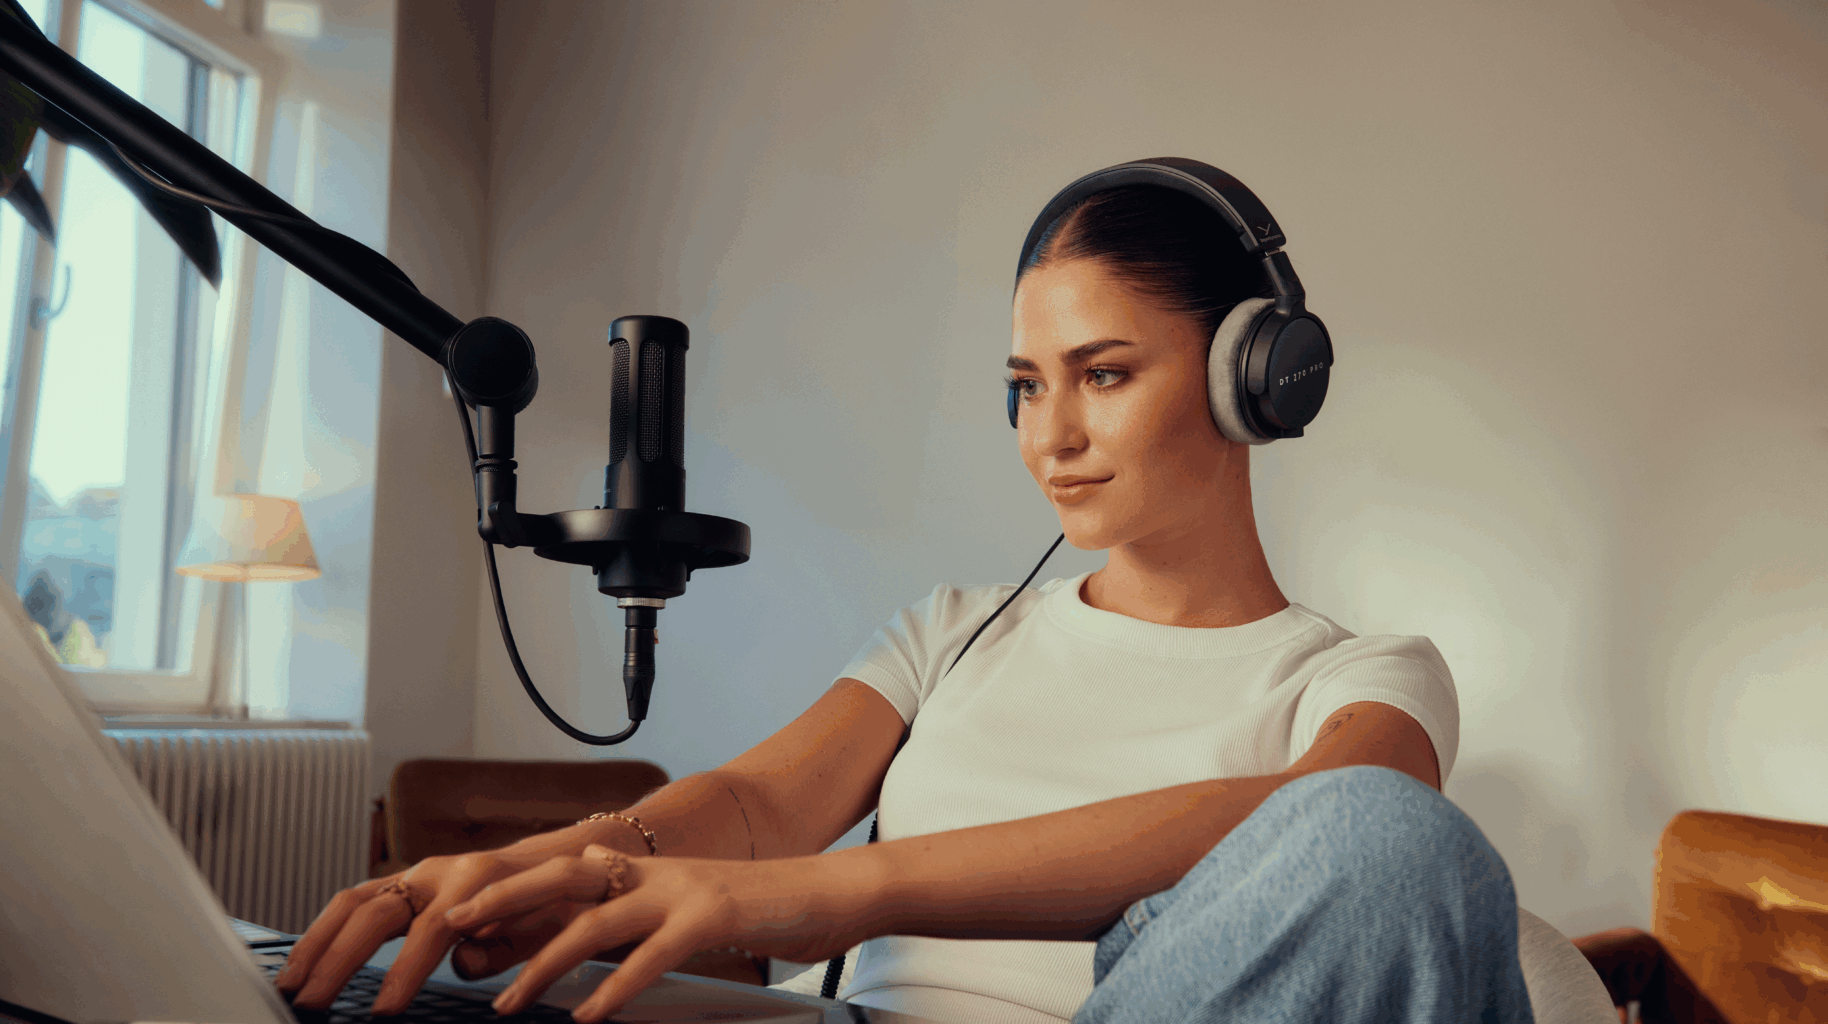
You’ve defined your concept and format – now it’s time for the real deal: the recording. Even the most exciting episode loses impact if the sound quality isn’t right. Echo, background noise or an unbalanced tone can quickly put off your listeners. The good news: With the right tips for room acoustics, microphone setup and monitoring, you can record a podcast at home that sounds professional.
TABLE OF CONTENTS
Why Room Acoustics Are Crucial for Your Podcast Recording
The acoustics of your room influence the sound more than any microphone. Hard surfaces like walls, windows or tiles reflect sound and create echo. The result: Your voice sounds distant and unprofessional.
Our tip: The more soft materials in the room, the better. Carpets and curtains are simple sound absorbers. Bookshelves don’t primarily absorb sound, but they scatter reflections and improve acoustics.
DIY hack: A room with lots of upholstered furniture, such as a bedroom, is your best choice – and if you open your full wardrobe, that helps even more.
Pro solution: Acoustic panels or foam on the walls minimise reflections. Just a few elements make a big difference.
💡Avoid this mistake: The notorious “bathroom sound” comes from tiles and glass surfaces. Avoid such rooms at all costs!
Technical Equipment – What Do You Really Need?
Before recording your podcast, make sure your equipment suits the task. The right technical setup is essential for clear, professional speech recording – and don’t worry: you don’t need a high-end studio. With just a few well-chosen components, you’ll achieve excellent results. Here’s what to consider:
Microphone or Headset?
For voice recordings, a good microphone is a must.
Headsets: Convenient, but they pick up every breath and swallowing sound and often sound “too close”. This can be distracting in interviews and makes editing harder.
Recommendation: Table or stand-mounted microphone for a natural sound. This avoids the typical “headset sound” and gives you a balanced voice recording.
USB or XLR?
USB microphones: Plug in and start – perfect for beginners who want a simple setup.
XLR microphones: Higher quality; work with an audio interface. Worth it if you plan to produce professionally in the long term.
Avoid Bluetooth®: The delay during monitoring is extremely disruptive and can ruin your recording.
Pay Attention to Polar Patterns
Cardioid: Ideal for solo podcasts. Captures your voice clearly and reduces room echo and background noise
Bidirectional: For interviews or co-hosting – picks up sound from two directions. Make sure both speakers aren’t too far from the mic, or you’ll get too much room sound.
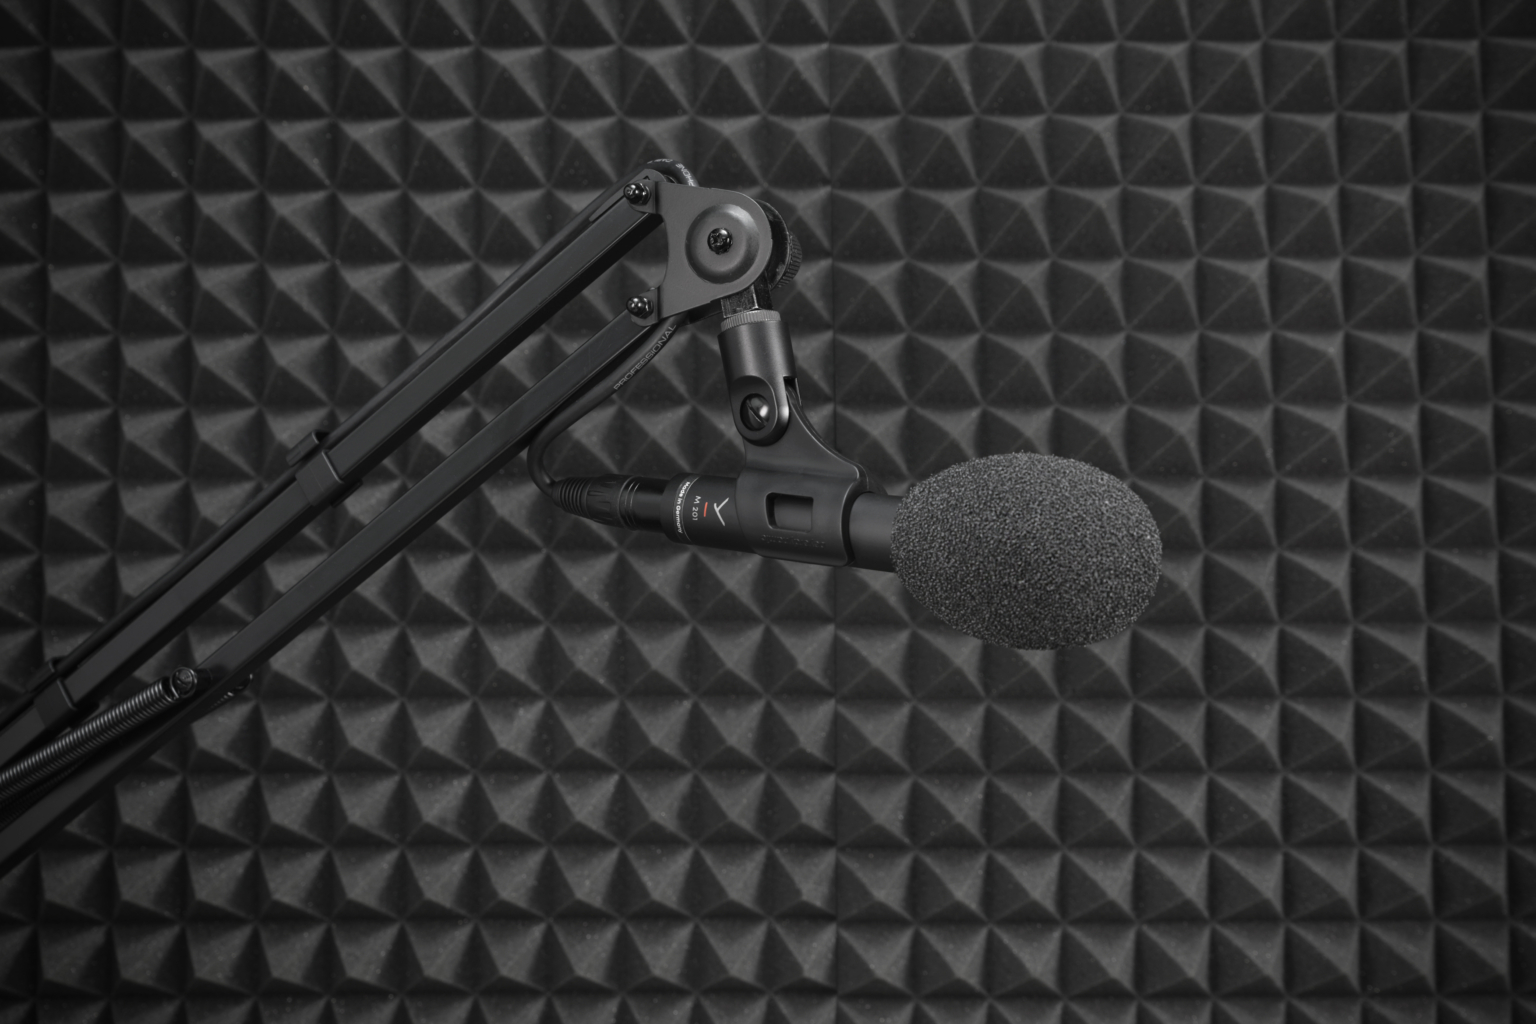
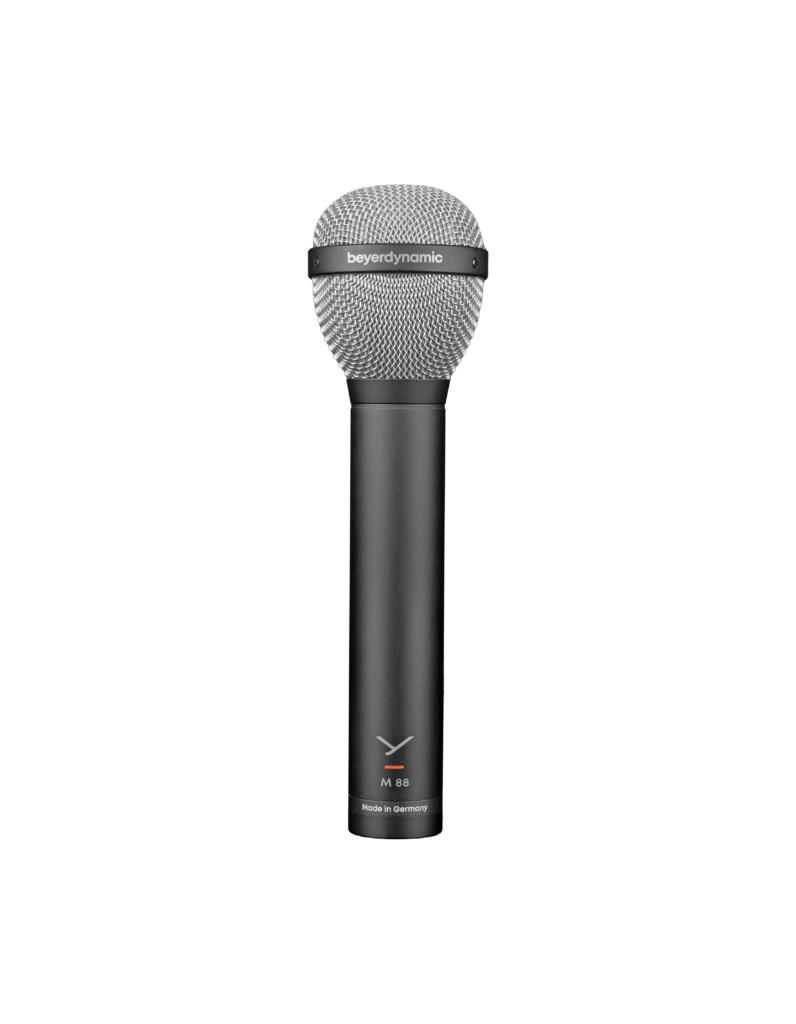
💡 Pro hack: Dynamic microphones like the M 88 or M 201 are real insider tips for speech. They deliver natural voice reproduction and effectively reduce unwanted noise. Both use a hypercardioid pattern – a variant of cardioid with stronger directionality. This means: more precise recording, but you need to pay attention to positioning. The advantage: room echo and noise are even better suppressed.
The position of the microphone is crucial for the sound of your recording. Just a few centimetres can decide whether your voice sounds warm and present or dull and echoey. So choose the right placement carefully and experiment a little.
Close-up: Directly in front of your mouth makes your voice bass-heavy and very intimate – appealing for some formats, but often too dominant.
Optimal distance
10–20 cm: Strong proximity effect, voice sounds full and warm.
20–30 cm: Less proximity effect, voice sounds more balanced and natural – without excessive bass.
Experimentation pays off:
Voice too nasal? Tilt the mic towards your chest.
Too bass-heavy? Angle it slightly upwards towards your nose – common when you’re very close.
Annoying speech noises? Position it diagonally from above.
💡 Pro tip: Use a pop filter to catch harsh “P” and “T” sounds.
Excursus on the Proximity Effect:
The proximity effect describes how directional microphones such as cardioid or hypercardioid significantly boost the bass frequencies of the voice when you get very close to the microphone – usually within about 10 to 20 centimetres. For podcast recordings, this means: the closer you speak, the fuller and warmer your voice will sound. However, if the distance becomes too small, the sound quickly turns exaggerated and muddy. If you are too far away, the voice loses its body and more room reverberation becomes audible. Typical working distance: around 10 to 20 centimetres – a good compromise between warmth and clarity.
Headphones – Your Most Important Monitoring Tool
Headphones are indispensable when recording a podcast. They’re your direct link to the recording and help you detect noise, level issues or echo immediately – before they become a pain to fix later.
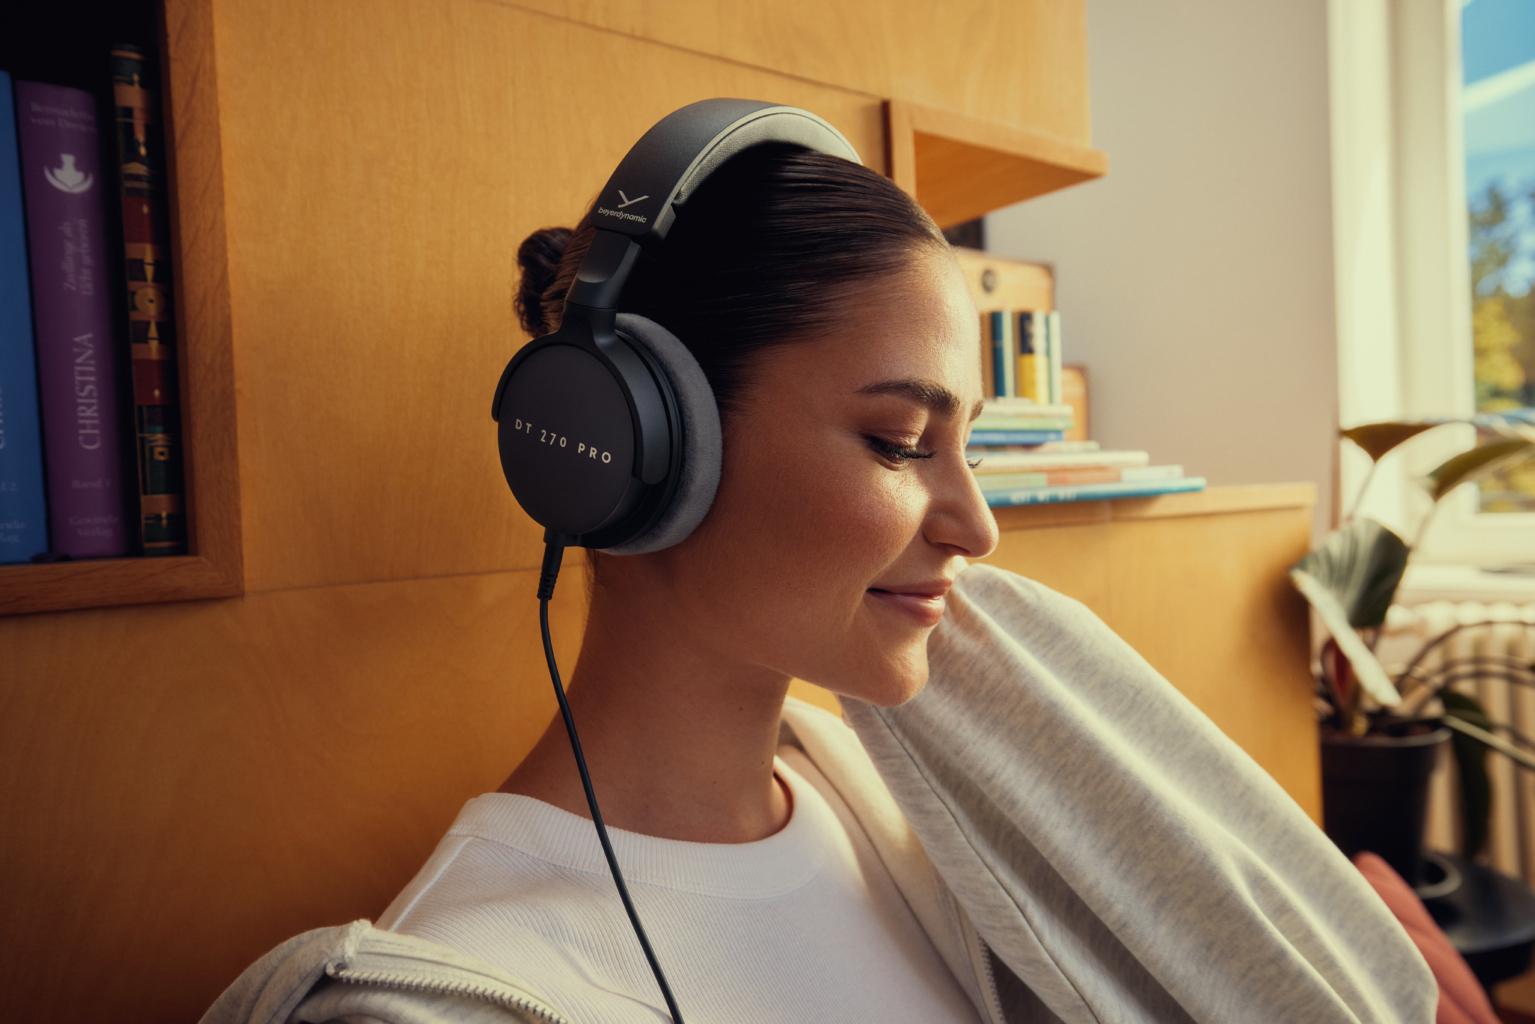
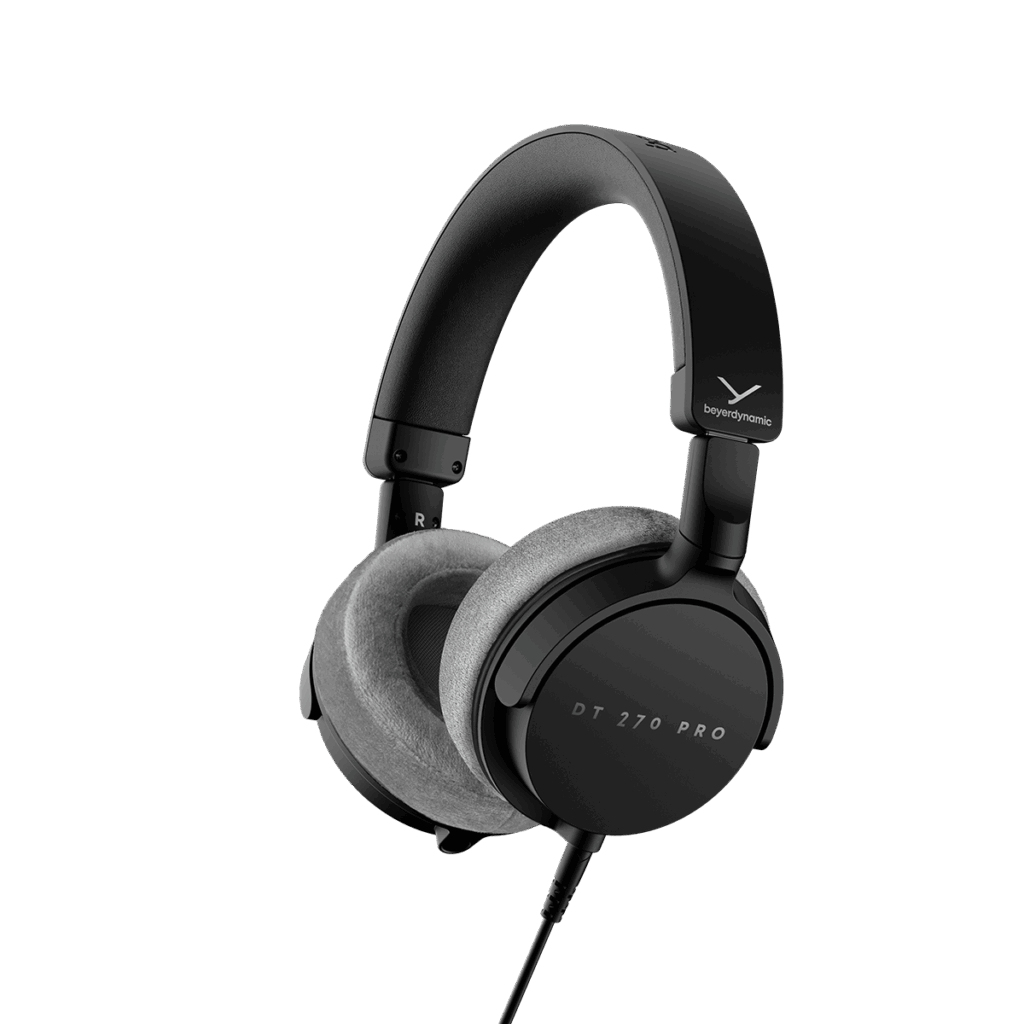
DT 270 PRO
DT 270 PRO: With its closed design, it offers perfect monitoring during recording. You hear exactly what the mic picks up – clear, detailed and without outside distractions.
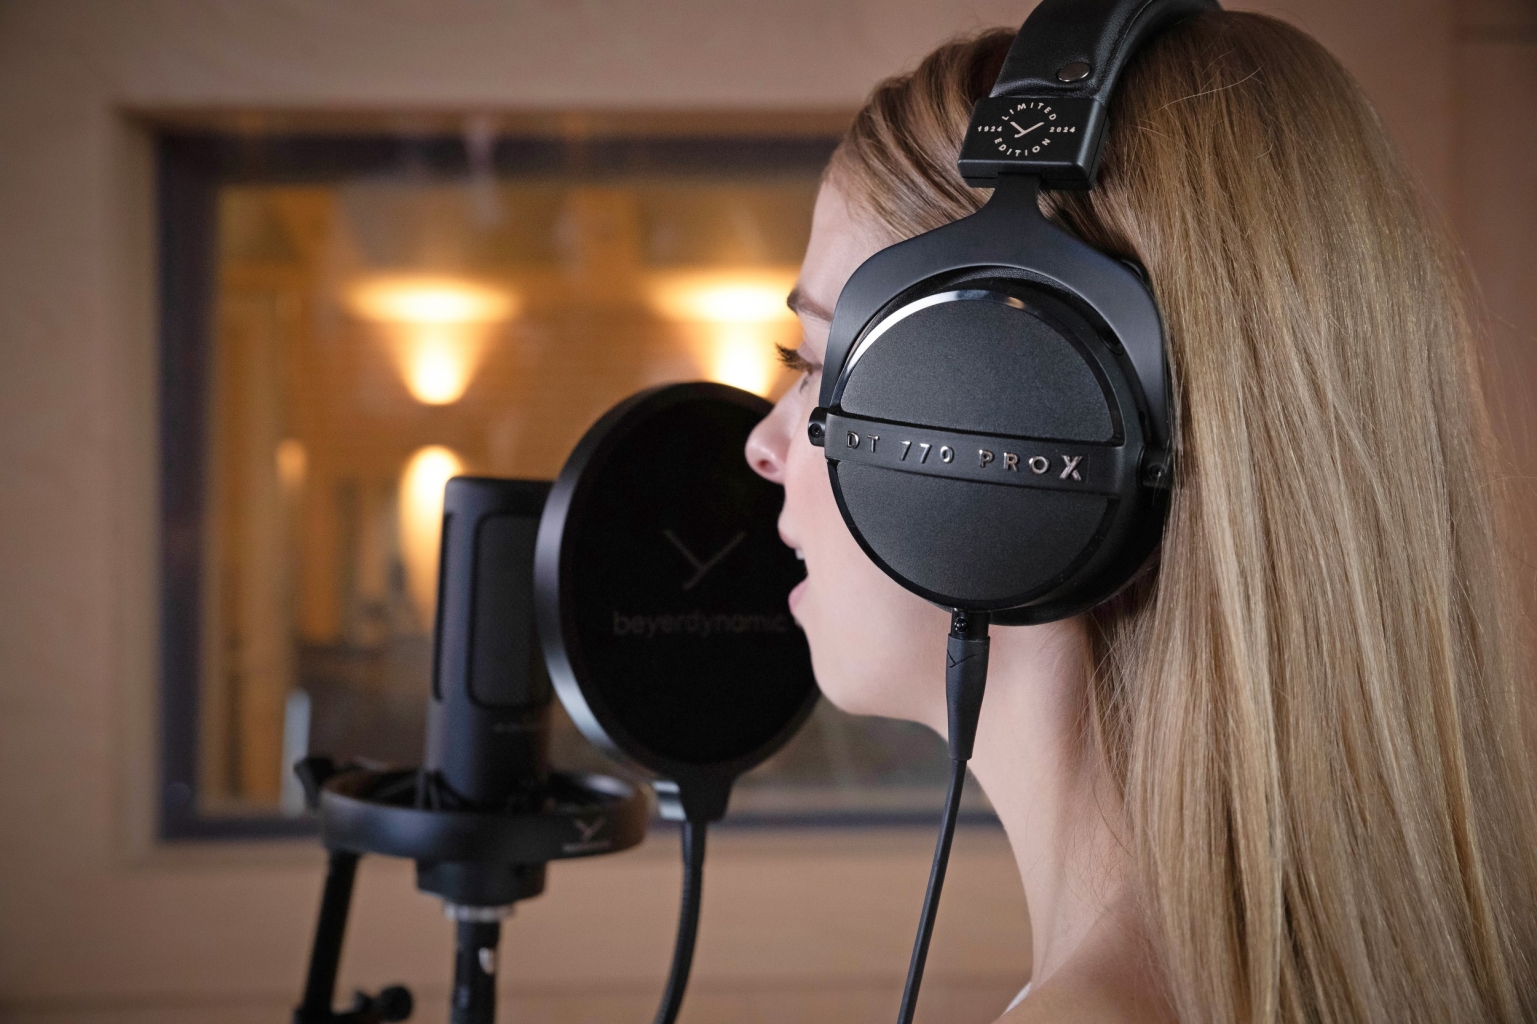
DT 770 PRO X: The evolution of the studio icon. Equipped with innovative STELLAR.45 drivers, it delivers impressive detail and precise dynamics. Robust build, detachable cable and maximum comfort make it ideal for long sessions and professional editing.
DT 770 PRO X
💡 Practical tip: Do a quick sound check with headphones before every recording. This ensures levels, tone and acoustics are spot on – and your recording shines from the start.
Software for Recording and Editing
The right software depends on how deep you want to dive into audio production. For beginners, a simple solution is enough, while pros need more features.
Basic Solution: Audacity
Free and easy: Perfect for beginners who want to start quickly.
Simple operation: Cuts are done in no time.
Effects: Compressor for even volume, EQ for clear voice.
💡 Tip: Audacity is ideal for first steps – especially if you’re using a USB mic and don’t plan complex editing.
Pro Solution: Adobe Audition & Co.
Advanced features: Professional tools like Adobe Audition offer extensive editing options, e.g. precise noise management, multitrack editing and high-quality effects.
For advanced users: Ideal if you produce regularly, use a setup (e.g. M 88 or M 201 with audio interface) and want maximum control.
💡 Tip: Allow time to learn – the possibilities are huge, but the interface takes practice.
Post-Production for the Final Polish
The recording is done – now comes the step that makes your podcast truly professional: post-production. This is about removing noise, making the voice clearer and balancing volume.
Evens out volume by reducing loud parts and boosting quiet ones. 👉 For beginners: Use presets like “Voice Leveler” or “Podcast” and avoid extreme settings – otherwise the voice sounds squashed.
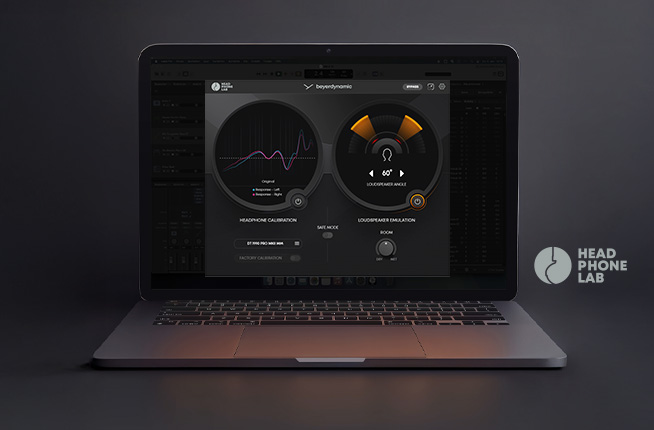
You want to take your beyerdynamic studio headphones to the next level and experience true studio sound? With the free
beyerdynamic HEADPHONE LAB you can get started instantly and effortlessly.
In the following article, you will also learn more about the
development of the HEADPHONE LAB.
Mentioned products:
DT 270 PRO Compact studio headphone for recording and monitoring (closed)